
How to Set Up Front and Rear Dash Cams in Plant City
Mount the rear camera high near the center of the rear windshield, and place the front camera high on the windshield behind the rearview mirror. For a front and rear dash cam setup in Plant City, shift the front camera slightly toward the passenger side if factory cameras or sensors occupy that space. Both lenses should capture a clear view without obstructing the driver’s sightline.
Choosing a location is only part of getting useful footage. A camera can be neatly mounted but still miss important details if its view is poorly framed, its cable crosses an airbag path, or the vehicle’s design blocks the rear image.
This guide covers camera placement, cable routing around vehicle features, and privacy and parking-mode considerations. It also explains how to troubleshoot unclear or missing rear footage, with tips for sedans, SUVs, vans, pickups, and RVs. Clear sightlines and carefully routed cables matter as much as camera position.
Key Takeaways
- Plan the front and rear camera positions together so each captures a useful view without obstructing the driver.
- Route cables with care around airbags, sensors, and other vehicle features that can affect safe placement.
- Understand how hardwiring and parking-mode settings affect recording when the vehicle is parked.
- Use a careful troubleshooting sequence to narrow down causes of blurry or missing rear footage.
- Account for your vehicle’s body style when choosing a rear camera position and planning the cable route.
What does professional dual-camera integration involve?
A dual-camera system records the road ahead and behind; a three-channel system adds another camera view. For a front and rear dash cam setup in Plant City, plan camera positions, cable compatibility, and power before installation.
-
Position the Front Camera
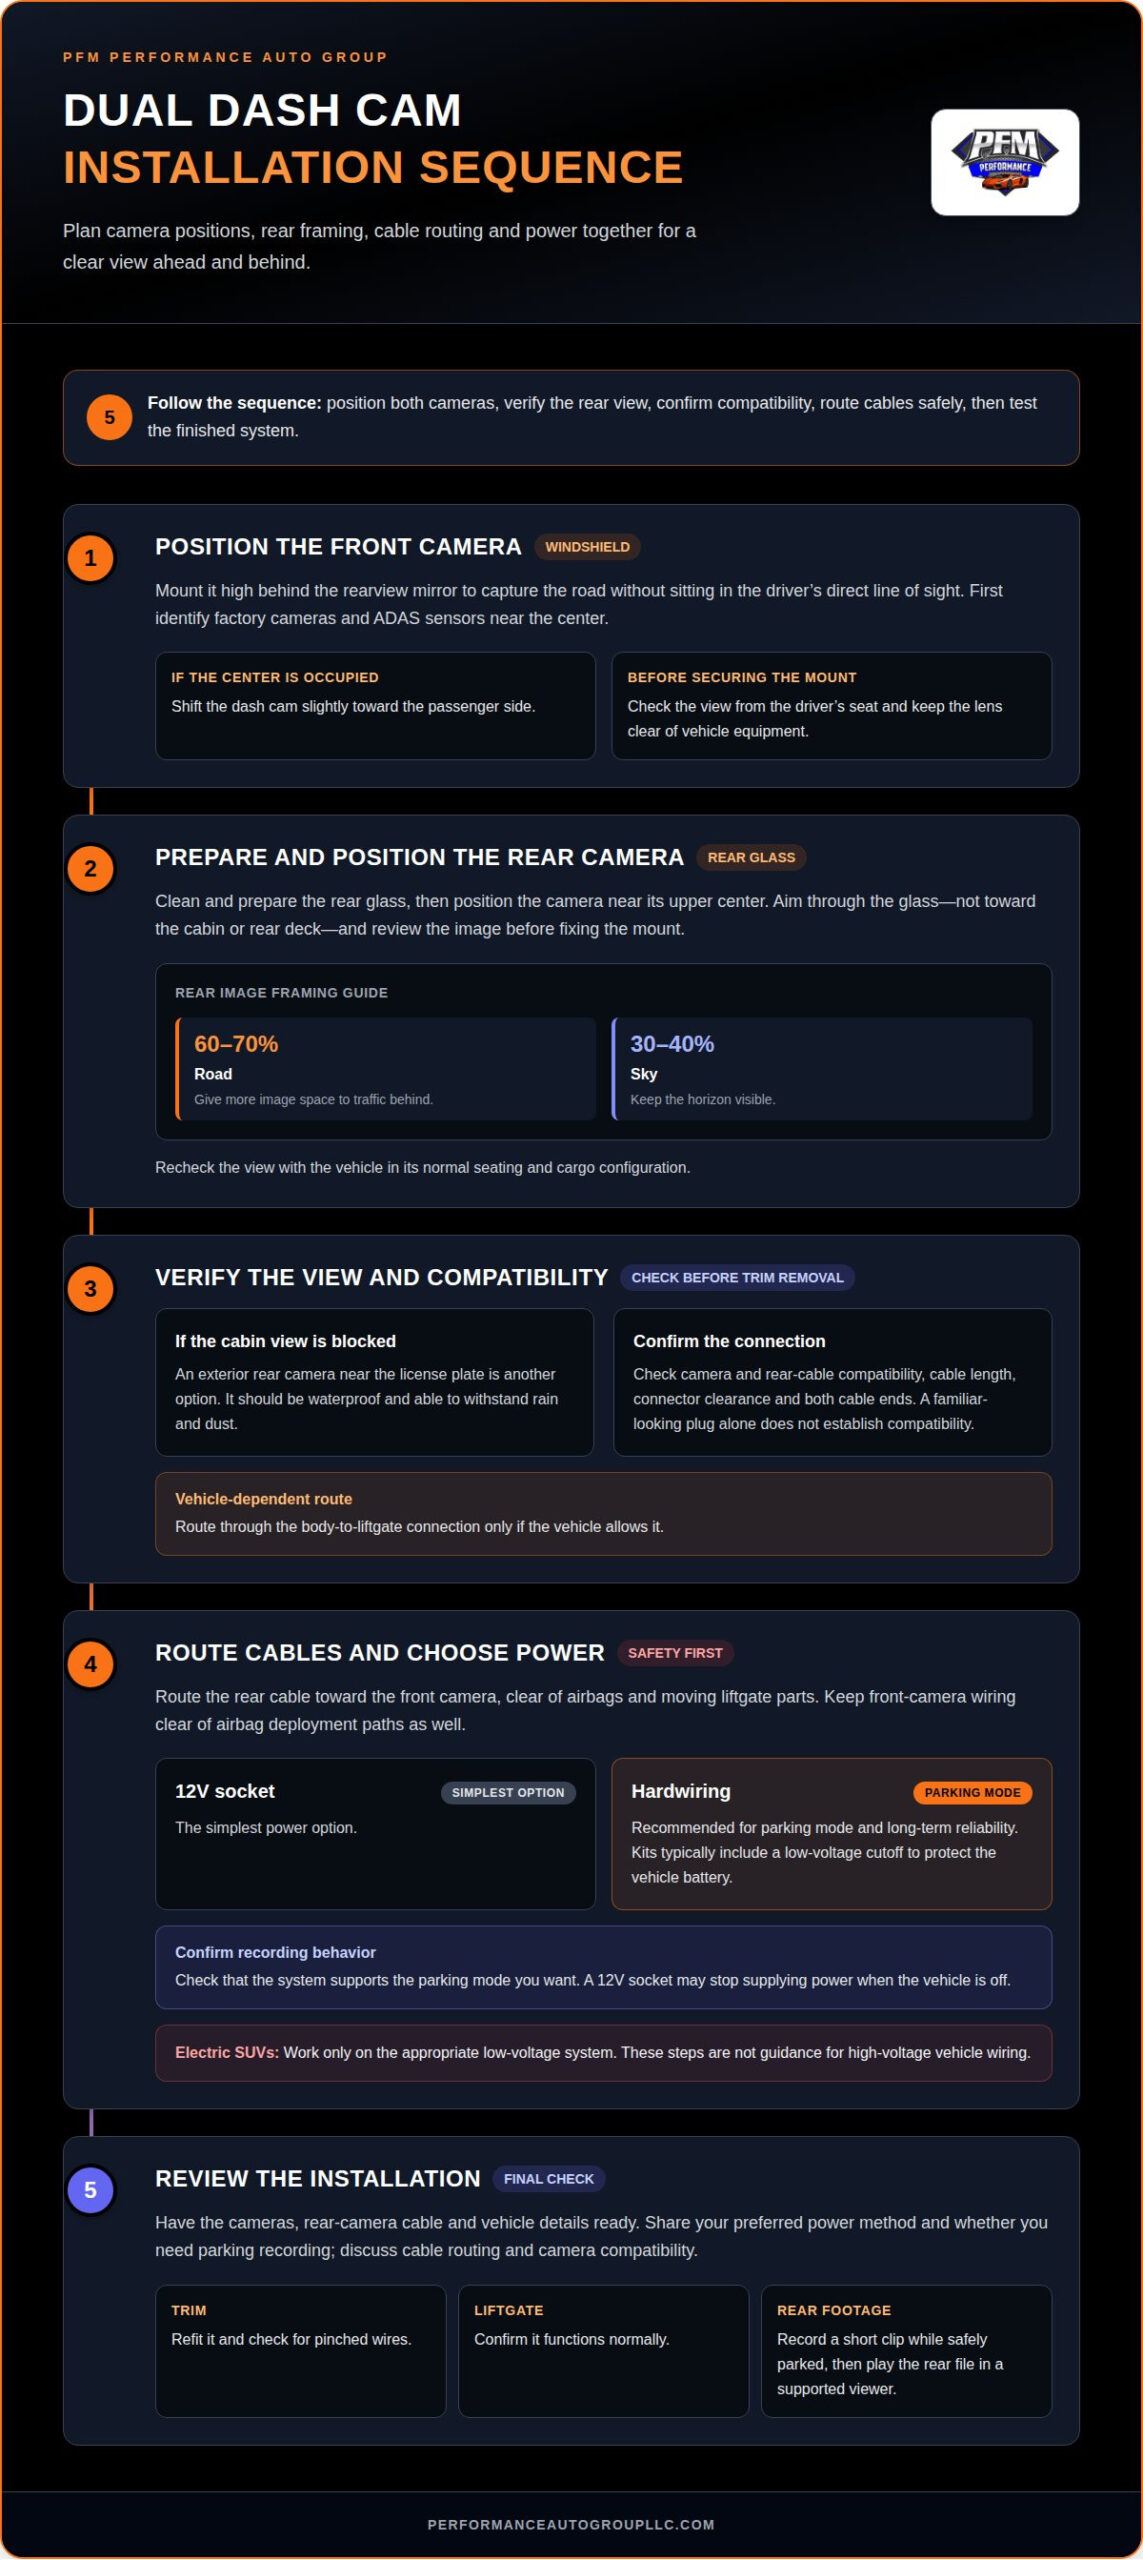
Place the front camera high behind the rearview mirror, where it can capture the road without sitting in the driver’s direct line of sight. First identify any factory cameras and ADAS sensors near the windshield center. If they occupy the preferred position, shift the dash cam slightly toward the passenger side. Check the view from the driver’s seat before securing the mount, and keep the lens clear of vehicle equipment.
-
Prepare and Position the Rear Camera
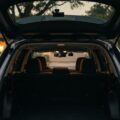
Clean and prepare the rear glass, then position the camera near its upper center. Check that the lens faces through the glass rather than toward the cabin or rear deck. Review the camera’s image before fixing the mount, and adjust it until the road behind appears clearly. For a second front and rear dash cam setup in Plant City, recheck the rear view with the vehicle in its normal seating and cargo configuration.
- Check the rear view and exterior option. Frame about 60-70% of the image on the road and 30-40% on the sky. This keeps the horizon visible while giving more image space to traffic behind. If an interior camera can’t see through the vehicle, an exterior rear camera near the license plate is another option. It should be waterproof and able to withstand rain and dust.
Before removing trim, confirm that both cameras and the rear cable are compatible. Check the cable length, connector clearance, and both cable ends. A familiar-looking plug alone doesn’t establish compatibility. Route the cable through the body-to-liftgate connection only if the vehicle allows it.
- Plan cable routing and power. Route the rear cable toward the front camera, clear of airbags and moving liftgate parts. A 12V socket is the simplest power option. Hardwiring is recommended for parking mode and long-term reliability; kits typically include a low-voltage cutoff to protect the vehicle battery. Confirm that the system supports the parking mode you want.
For electric SUVs, work only on the appropriate low-voltage system. These installation steps are not guidance for high-voltage vehicle wiring.
- Prepare for installation and review. Bring the cameras, rear-camera cable, and vehicle details when booking. Share your preferred power method and whether you need parking recording. Discuss cable routing and camera compatibility. After installation, refit trim, check for pinched wires, and confirm that the liftgate functions normally. Record a short clip while safely parked, then play the rear file in a supported viewer.
Avoiding airbags, sensors, and defroster lines
Plan camera positions and cable routes together, keeping both clear of airbags, sensors, factory cameras, and defroster lines.
- Map the front windshield features. Before mounting either dash cam, identify the driver’s viewing area, factory cameras, and visible sensors. These features may occupy the space behind the rearview mirror, leaving the center position unavailable. If equipment blocks that area, shift the camera slightly toward the passenger side. Check that the lens captures the road without sitting in the driver’s direct line of sight.
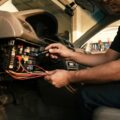
- Keep wiring away from airbag deployment paths. Route the front camera cable along the headliner and down the A-pillar, keeping it clear of the airbag’s deployment path. Don’t place the camera or cable where it could interfere with an airbag. A concealed cable route is not suitable if it crosses a safety component’s deployment area.
- Route the A-pillar cable with care. The A-pillar trim runs beside the windshield, where airbags or sensors may be located. Assess the vehicle’s layout before routing a cable along this area. Keep the wire clear of the airbag path rather than pressing it into a space that could affect deployment. Take the same care with the rear-camera cable as it travels through the cabin.
- Keep the camera off defroster lines. Rear-window defroster lines can cause glare or unclear video if a dash cam is mounted over them. Position the rear camera on clear glass to preserve a usable view. During testing, look for glare or lines crossing the recorded scene. If the image is unclear, adjust the camera before finishing the installation.
- Review the final route and image. Check that the front camera avoids factory cameras and sensors, and that no cable lies across an airbag deployment path. Review the rear recording for defroster-line glare and confirm the camera has a clear view. If you’d prefer a careful installation, book dash cam installation with attention to your vehicle’s layout.
How should drivers think about privacy and parking mode?
Decide what the cameras should record while the vehicle is parked before choosing a power method. Keep recording preferences separate from glass privacy, since they address different concerns.
-
Hardwire for Parking Mode
Choose hardwiring when you want the dash cam to support parking-mode recording. A 12V socket is the simplest power option, but it may stop supplying power when the vehicle is off. Hardwiring kits typically include a low-voltage cutoff to protect the vehicle battery. The installer should plan the power connection around the vehicle and the recording behavior you want.
-
Consider Privacy During Parking Mode
Decide what you want the front and rear cameras to capture while the vehicle is parked. For example, adjust their angles to focus on the vehicle’s surroundings rather than directly into a nearby home or parked car. Review the available recording and audio settings, then choose options that suit your privacy preferences. Privacy Window Tinting affects visibility through glass; it does not determine what the cameras record.
- Verify the parking mode separately. Before relying on parked recording, confirm that the dash-cam system supports the specific parking mode you intend to use. A hardwired connection supplies power, but does not establish which recording functions the cameras support. Consider when recording should begin, what each camera should cover, and how you’ll know the system has entered parking mode.
For example, if you want the front camera active while parked, distinguish that need from a system that records only while driving. Explain your preferred behavior when planning the installation. Review the system’s settings and indicators, if available, to make sure its operation matches your intended use.
- Test the setup while safely parked. After installation, record a short clip and review it in a supported viewer. Check that the rear file plays, both camera views match your privacy preferences, and the system responds as expected when the vehicle is parked. If recording behavior differs from your plan, revisit the parking-mode setting and power arrangement before relying on it.
Keep the distinction clear: camera settings control recording, while window treatments affect visibility through vehicle glass. Consider both when planning a setup that suits your vehicle use and privacy preferences.
Troubleshooting unclear or missing rear footage
Distinguish a blank rear feed from footage that appears but lacks a clear view. Check the system in order, starting with camera detection and ending with playback.
- Check whether the system detects the rear camera. Restore power to the dash-cam system and confirm that it recognizes the rear camera. If it isn’t detected, the issue is different from a blurry image. Start by checking the connection between the front unit, rear cable, and camera. A familiar-looking plug does not prove the cable is compatible with the camera system.
- Inspect both cable ends and their connections. Check that the rear cable is securely connected at the camera and front unit. Look for a loose connector or a cable end that doesn’t match the system. Compatibility depends on the cable and camera, not just the plug’s appearance. If the system still doesn’t detect the camera after power is restored, check the connections again before assessing image quality.
- Test the liftgate connection again. If the vehicle has a liftgate, open and close it after checking the rear-camera feed. Then recheck the feed and connector connections. This can reveal a connection affected by liftgate movement. Route the cable through the body-to-liftgate connection only if the vehicle allows it, and don’t force it through a restricted route.
- Review the rear image in a supported viewer. Record a short clip while safely parked, then open the rear file in a supported viewer. Confirm that it plays and shows the expected view behind the vehicle. This helps distinguish a live-feed issue from a playback issue. If the clip opens but the scene is unclear, compare the recording with the camera’s position through the rear glass.
- Recheck the camera’s view before finishing. A detected camera can still miss the intended scene. Review the rear file for a blocked view, incorrect angle, or glare from defroster lines. In a sedan, for example, a camera pointed too far into the cabin may capture more of the interior than the road. Adjust its position, then record and review another short clip.
- Confirm operation after the final connection check. Restore power and verify that the system detects the rear camera. Where applicable, check the feed after opening and closing the liftgate, then play the rear recording again. For an interior rear camera, assess the recorded view through the actual glass rather than relying only on the live display. This final review checks both the image and the connection.
Placement considerations for sedans, SUVs, vans, pickups, and RVs
Match camera positions to the vehicle’s glass, body shape, and sightlines. A sedan and an RV call for different approaches.
- Position the sedan’s front camera within the clear windshield area. Keep the lens high enough to capture the road without blocking the driver’s view. According to the Electronic Code of Federal Regulations, “Not more than 216 mm (8.5 inches) below the upper edge of the area swept by the windshield wipers.” Keep factory cameras and sensors clear when selecting a mounting point. For the rear, use the upper center of the rear windshield, then review the recording for a level, unobstructed view.
- Mount an SUV’s rear camera higher on the back glass. A higher position can provide a longer, downward view behind the vehicle. Check the image from the driver’s seat and make sure the cabin or cargo does not dominate the view. The front camera also needs a clear windshield position away from factory equipment. If the center area is occupied, shift the camera slightly toward the passenger side while preserving useful road coverage.
- Place a van’s rear camera near the roof or rear-window center. A high position can help the lens see past the interior and through the rear opening. Check the view with the vehicle’s usual seating and cargo arrangement, as stored items can block the image. In a pickup, seats or headrests may obstruct an interior camera. An exterior camera on the tailgate or bumper may provide a clearer view behind.
- Plan an RV’s view around its length and rear profile. A wide-angle lens can improve coverage from a large vehicle, but review the image for blind areas or distortion. Position the camera to capture the area behind the RV, not just its rear bodywork. For an exterior mount, consider exposure to rain and dust; choose a waterproof camera that can withstand both. Route cables with vehicle movement in mind.
- Check the final position in each vehicle’s normal configuration. Adjust seats, mirrors, liftgates, and cargo as they’ll be used, then review both camera recordings. Confirm that the front view preserves the driver’s sightline and the rear view remains clear. If windshield tint is part of the plan, account for the camera’s viewing area before installation. A position that works in a sedan may not provide equivalent coverage in an SUV, pickup, or RV.
PFM Performance Auto Group
PFM Performance Auto Group provides window tinting for vehicles in Hillsborough County, including Auto Window Tinting, Windshield Window Tinting, Privacy Window Tinting, and Black Pearl Nano Ceramic Window Tint By Madico. If camera placement raises questions about visibility through the glass, consider how tinting fits with the camera’s position and view. Tinting affects the glass, while the dash cam’s angle and recording settings determine what it captures. Contact PFM Performance Auto Group to discuss window tinting for your vehicle.
Make your next drive the starting point
A front and rear dash cam setup in Plant City is a practical addition, but your needs may change as your vehicle or driving habits change. Treat the camera system as part of your vehicle’s setup. If you change vehicles, add equipment, or alter how you use the cabin, review whether the camera views still suit your routine.
For hands-on installation in Hillsborough County, PFM Performance Auto Group offers car dashcam installation. A professional installation can integrate the system into your vehicle while keeping your recording priorities in view. You can also discuss related needs, such as window tinting, as part of your broader vehicle setup.
Choose the next step that suits your needs. A well-planned setup can make it easier to rely on your cameras during everyday driving.
Move forward with care, and enjoy greater confidence in the setup you choose.
Frequently Asked Questions
Where to Put a Rear Dash Cam?
For most cars, place an interior rear camera near the upper center of the rear windshield. In a vehicle with a split rear window, test the view through each section before mounting. Check the recording with passengers seated and cargo in its usual place, since headrests or luggage can block the view. If the glass view is obstructed, an exterior camera may provide a clearer rearward angle.
Is It Legal to Mount a Dash Cam on the Windshield?
Windshield placement is subject to restrictions, so position the device without obstructing the driver’s view. The Electronic Code of Federal Regulations states: “Not more than 216 mm (8.5 inches) below the upper edge of the area swept by the windshield wipers.” This specifies a placement limit, not a blanket approval for every windshield position. Keep the camera clear of the driver’s sightline and vehicle equipment.
Should You Mount Your Dash Cam Inside or Outside?
An interior rear camera is often a straightforward choice when the rear glass provides a clear view. It may be less suitable if a pickup’s headrests or cargo block the image. An exterior camera near the license plate can help, but it should be waterproof and able to withstand rain and dust. Choose based on the view your vehicle can provide.
Which system details affect useful footage?
Check how the camera records, how files play, and whether the rear camera and cable are compatible. For example, a recording that exists but won’t open in your viewer is a different issue from a camera the system doesn’t detect. Consider whether you want recording while parked, too. Parking-mode support varies, so match the system’s capabilities to your intended use.
Why consider two camera views instead of one?
Two cameras can record the road ahead and behind, while a front-only camera records the forward view. Rear coverage can matter when events behind the vehicle are relevant, such as a rear impact in traffic. Two views also mean more footage to manage and review. Consider your driving and parking needs before deciding whether rear coverage is useful.
What features should I look for in a front and rear dash cam?
Prioritize a compatible rear camera and cable, clear recordings from both views, and playback in a supported viewer. If you want recording while parked, choose a system with a parking mode that suits your needs. Consider the vehicle layout, too: a pickup with obstructed rear glass may need an exterior camera. Check framing in the recordings, not just on the live display.
Can hardwiring a dash cam drain the car battery or affect the vehicle warranty?
Hardwiring draws power from the vehicle, so using parking mode can affect the battery. Hardwiring kits typically include a low-voltage cutoff to protect it, but power setups do not all behave identically. The wiring method alone does not determine warranty coverage; relevant vehicle warranty terms and the cause of any issue matter. Keep installation records and system details with your vehicle documents.
Are dash cams legal in Florida, and where can they be mounted?
Windshield placement should preserve the driver’s view and follow applicable restrictions. The Electronic Code of Federal Regulations states: “Not more than 216 mm (8.5 inches) below the upper edge of the area swept by the windshield wipers.” That rule gives a specific placement limit; it doesn’t establish that every mounting spot is acceptable. For Florida use, avoid obstructing the driver’s view or interfering with vehicle cameras and sensors.